

(click images for larger view)
Equilateral Triangle Quilt
This quilt is a gift for an old college/work friend. I meant to have it ready for her baby shower, but I missed that deadline completely! The baby just had his first birthday. :D I looked through her pictures on Facebook and saw a lot of orange, aqua, green and cute critter prints. When I found the Backyard Baby fabric collection at a local quilt shop, I knew it would be the perfect material for this project.
Each of the seven rows consist of nine triangles and two half triangles. I used the Hex N More ruler to cut the triangles out of 8" strips of fabric. There is not an "official" line for larger triangles on the ruler, so I used the solid line above the Half Hex text as the bottom marker for cutting the triangles. If the points aren't clipped, each triangle side is 9.5". The quilt top measured at 43"x 53."
Using white thread, I quilted straight lines 3/8" away from both sides of the all the seams. The binding is Lush Running Stitch in Orange. The binding is hand-stitched to the back with Aurifil 28wt Golden Honey.
 |
(click images for larger view)
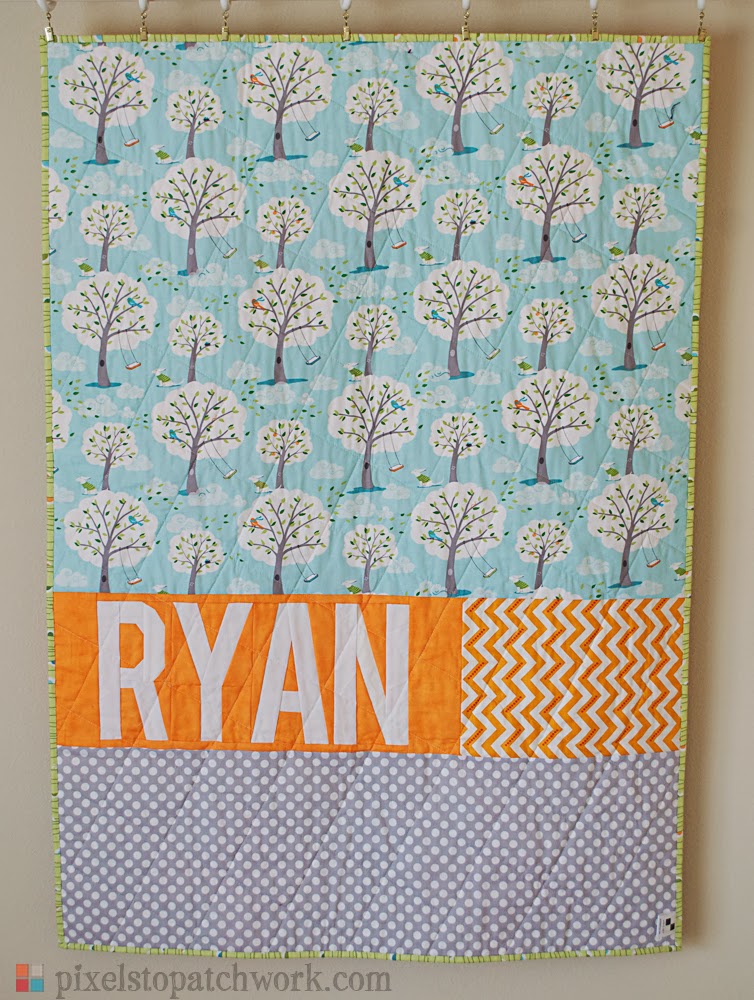
Plus Quilt
My husband requested this quilt for a coworker. It only took me 6 months to get around to finishing this one! I used the fabric that was left over from the triangle quilt.
This quilt design is really easy and I can understand why it is such a popular quilt pattern! It will definitely go on my "I Need a Baby Quilt ASAP" list. I used 3.5" strips of fabric, because that was the most efficient use of my remainder fabric. There are three block sizes(unfinished) in this quilt: 3.5"x3.5", 9.5"x3.5 and 6.5"x3.5". The quilt top measured 36.5"x 51.5."
The quilting is a diagonal grid with white thread. The binding is Green Fun on the Vine from the Backyard Baby collection. The binding is hand-stitched with Aurifil 28wt Medium Spring Green.
The one downside to these types of labels is they can be removed easily, but I prefer them on less personal quilts. (The website on the label is under construction at the moment, but it is going to be a barebones pictures and contact page: just an extended version of the label.)
With these two finished, I am done with all the urgent baby quilts on my list! (until the next announcement!)
This quilt is part of my Finish Along 2014 Quarter 1 List. I am linking up with Fabric Frenzy Friday at Fort Worth Fabric Studio, Finish it Up Friday at Crazy Mom Quilts and with Thank Goodness It's Finished Friday which is being hosted at [Amy's] Crafty Shenanigans this week.


